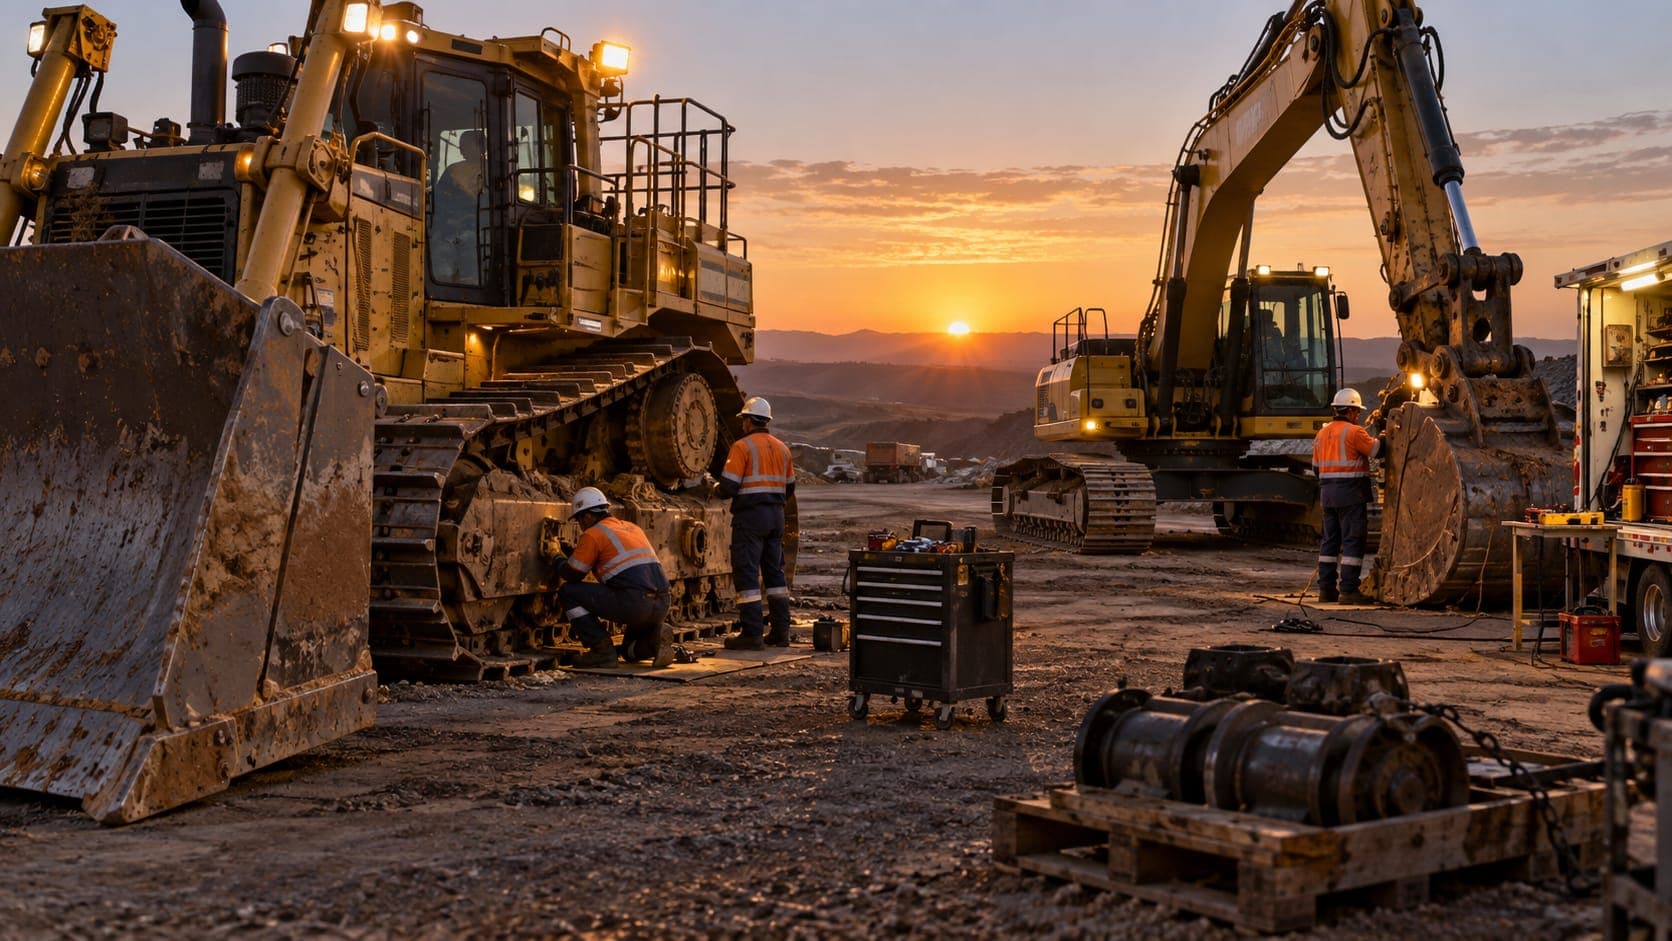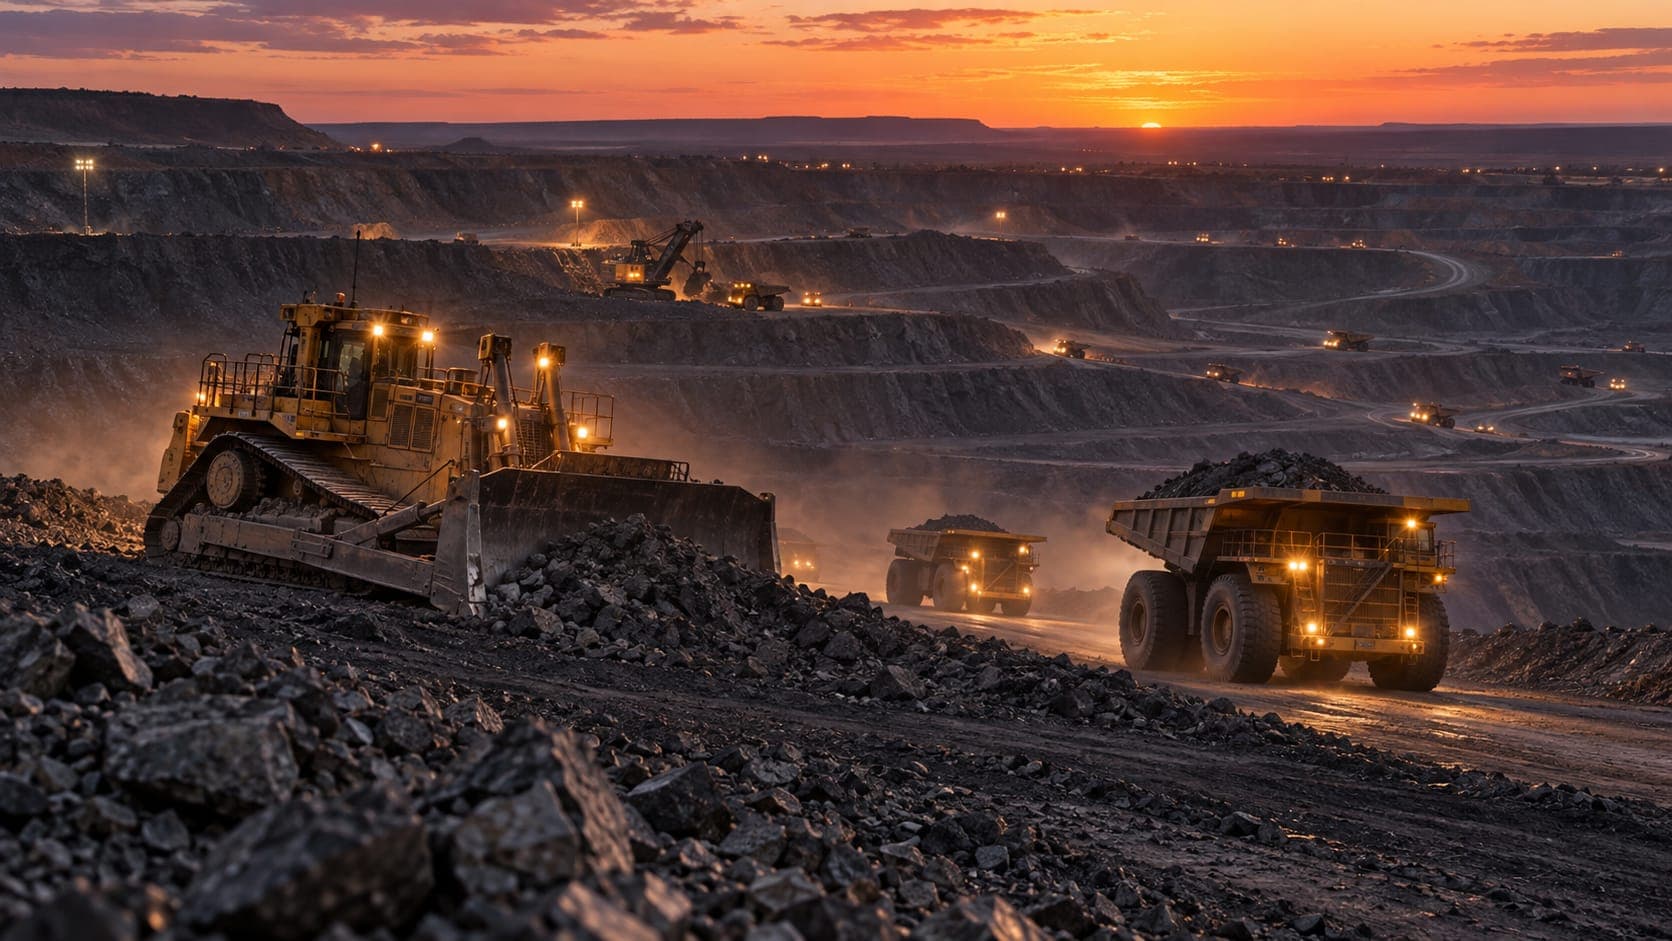
Hard rock changes everything about an earthmoving job: production drops, wear rises, and the right machine may be a dozer and ripper, a hydraulic hammer, a rock saw or a drill rig rather than a bigger excavator. The earlier the rock is understood, the more accurate the fleet and the price.
Editorial planning guidance with illustrative scenarios. No independent professional review is claimed. Read the authorship and evidence policy or report a correction.
Understand the rock mass
Rock strength alone does not decide excavatability. Joints, bedding and weathering often matter more: a strong but closely jointed rock may rip easily, while a weaker but massive rock may not. Geotechnical logs, core photos, point load or UCS test results, and seismic refraction velocities all help suppliers judge the method.
Methods of breaking rock
The main options are ripping with a heavy dozer, hydraulic hammers on excavators, rock saws or trenchers for narrow trenches, surface miners, and drill and blast. Each has a practical range. Ripping is often the cheapest where it works; hammering is slow but precise; blasting is efficient for large volumes but needs licensing, approvals and controls on vibration and flyrock.
- Ripping: large volumes of rippable rock
- Hammering: trenches, footings, confined areas, oversize
- Rock saws and trenchers: narrow service trenches
- Drill and blast: large volumes of strong, massive rock
Wear and operating cost
Abrasive rock wears ripper tips, bucket teeth, cutting edges, undercarriage and tyres quickly. Agree how wear parts are charged and measure undercarriage at on- and off-hire. Rock buckets and heavy-duty guarding reduce damage.
Productivity and programme
Production in rock can be a fraction of that in soil, and it varies as the rock changes. Build contingency into the programme and consider a trial to measure actual rates. Ask suppliers for realistic production estimates in similar rock.
Rock strength and rippability benchmarks
Geotechnical reports in Australia usually describe rock strength using the AS 1726 categories, based on uniaxial compressive strength (UCS): very low and low strength rock (under about 6 MPa) is often rippable with medium dozers; medium strength rock (roughly 6–20 MPa) usually needs a D8 or larger dozer; high and very high strength rock (above about 20–60 MPa) often needs hammering or blasting, depending on jointing. Seismic refraction velocities are also used: as a rough guide, rock with velocities below about 1,500–2,000 m/s is often rippable with large dozers, while higher velocities become marginal or require blasting. Manufacturer rippability charts give more precise ranges for specific machines.
Common Australian rock types vary widely. Sandstone and shale around Sydney range from easily rippable to strong. Basalt, common in Victoria, Queensland and northern NSW, is often very strong and abrasive. Granite and quartzite in many regional areas are strong and abrasive. Weathering profiles can change quickly with depth, so borehole and test pit logs matter.
Hammer and dozer sizing
Hydraulic hammers are matched to carrier excavators: a 20–25 tonne excavator typically carries a hammer of around 1.5–2 tonnes; a 30–36 tonne excavator around 2.5–3.5 tonnes; and larger machines carry hammers of 4 tonnes or more. Output from hammering is slow compared with digging, often measured in tens of cubic metres per hour rather than hundreds, depending on rock and task.
For ripping, a D8-class dozer is the usual entry point for serious ripping, with D9, D10 or larger machines used on mines and major highway cuttings. Single-shank rippers penetrate better in harder rock; multi-shank rippers suit softer, more fractured rock.
| Machine | Common classes | Notes |
|---|---|---|
| Dozer | D4–D5 (10–13 t), D6 (about 20 t), D8 (about 38 t), D9–D11 (mining) | D6 is the typical civil class; D8 and above for ripping and heavy push |
| Grader | 12-, 14- and 16-series; 18–24 on mines | 12–14 class for civil formation and trim; 16 and up for haul roads |
| Smooth-drum roller | 10–12 t common; 15–20 t for thick lifts | Granular pavements and fill |
| Pad-foot roller | 12–20 t | Clays and cohesive fill |
| Multi-tyred roller | 10–20 t ballasted | Pavement finishing and sealing |
| Water cart | 10–15 kL truck-mounted; 20–40 kL articulated; 70 kL+ mining | Compaction moisture and dust control |
| Wheel loader | Compact to 3 m³; 4–6 m³ civil and quarry; larger mining | Stockpiles, truck loading, quarry face |
Blasting in Australia
Blasting is regulated under state explosives legislation and requires licensed shotfirers, approved blast management plans and controls on vibration and airblast, particularly near homes, infrastructure and heritage items. Many councils and road authorities set specific vibration limits. If blasting is being considered, involve a blasting contractor early to test feasibility and cost against hammering or ripping.
What it means for the hire agreement
Rock changes the commercial picture as much as the machine choice. Hourly rates may look similar between suppliers, but production in rock can vary several-fold between methods, so compare offers on cost per cubic metre or per linear metre of trench. Agree in writing how hammer tools, ripper tips, bucket teeth and undercarriage wear will be charged, and measure wear items at on-hire and off-hire.
Where the extent of rock is uncertain, consider a schedule of rates that separates common excavation from rock excavation, with an agreed way of classifying material on site. This avoids disputes when the ground turns out harder, or softer, than expected.
Worked example
A trench through weathered rock might start with a large excavator digging easily, then hit harder rock a metre down. A hydraulic hammer may be needed for the lower section, cutting production sharply. Knowing where the rock changes — from test pits or boreholes — helps suppliers plan the right mix of machines and gives a more reliable programme.
Questions to ask suppliers
When comparing rock excavation offers, ask:
- What method do you recommend for our rock, and why?
- What production rate do you expect, and what is it based on?
- How are wear parts and hammer tools charged?
- Can you do a trial before committing to a rate?
Sample supplier brief
A short written brief gets faster, more comparable quotes. Adapt this example to your job:
“We need to excavate a 1.2 m deep, 800 m long service trench through weathered to fresh basalt near Ballarat, VIC. Borehole logs indicate UCS of 20–80 MPa below about 0.6 m. Blasting is not permitted because of nearby homes.”
“Please propose an excavation method, machine and hammer sizes, expected production per day, wear-part charges, and whether you can run a one-day trial before we agree rates.”
Common questions
How do I know if rock can be ripped?
Seismic refraction velocity, rock strength, jointing and dozer size all matter. Dozer manufacturers publish rippability charts, but a field trial is the most reliable check.
Is a hydraulic hammer or blasting cheaper?
For small volumes or confined areas, hammering is often more practical. For large volumes of strong rock, drill and blast is usually cheaper per cubic metre where permitted.
What is UCS?
Uniaxial compressive strength is a laboratory measure of how much load a rock sample can take before failing. It is one of the main indicators used to classify rock strength.
Can a large excavator dig rock without a hammer?
Weak or well-fractured rock can often be dug with a heavy-duty rock bucket on a large excavator. Stronger or more massive rock usually needs ripping, hammering or blasting.
This guide is general information to help you prepare a better enquiry. It is not engineering, legal or safety advice. Equipment selection, engineering and safe systems of work remain the responsibility of competent project and supplier teams, and regulatory requirements differ between states and sites.